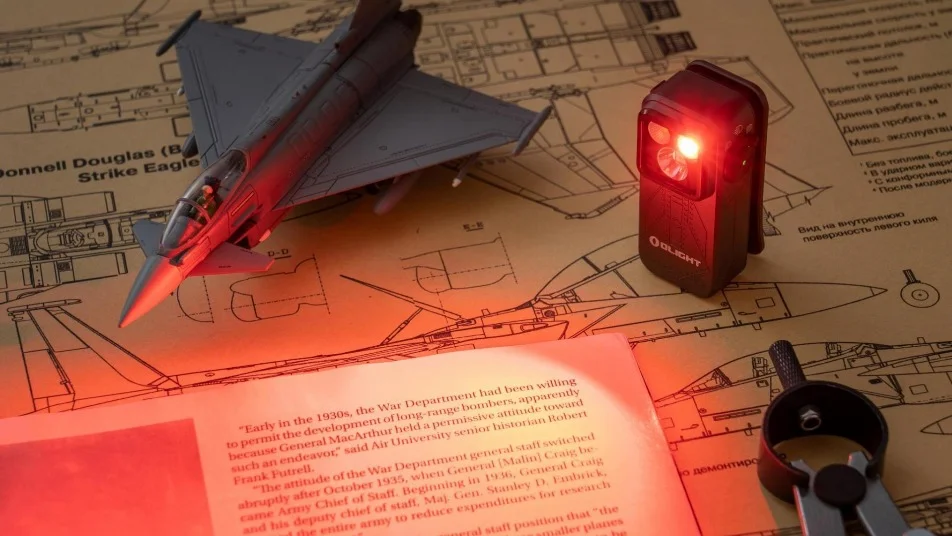
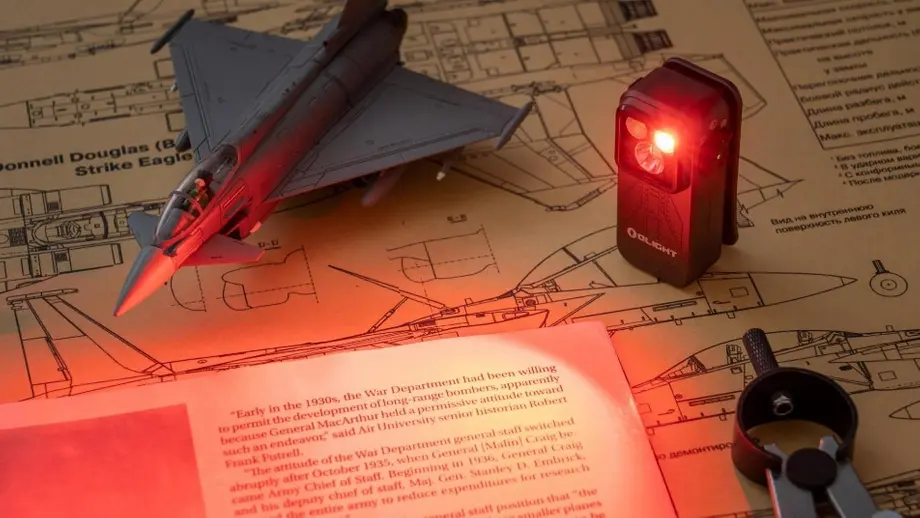
The Olight Oclip Pro makes most sense when you often need both hands free and can attach the light where you want it to point. Clip it to a firm strap or attach its magnet to a suitable steel surface, then use the selector to choose a wide flood, a narrower spot or red light. Its 500-lumen rating is the first minute of flood Turbo. For a job that takes an hour, the lower white modes tell you more about how useful the torch will be. Oclip Pro at Olight UK · UK user manual
| Model | White light | Other light | Who should choose it |
|---|---|---|---|
| Oclip | Up to 300 lm, one white beam | Red | You want the lighter 30 g original for simple, close-range jobs. |
| Oclip Pro | Up to 500 lm flood, separate spot rated to 120 m | Red | You want both a wide and a narrow white beam and regularly use red light. |
| Oclip Ultra | Up to 530 lm flood, separate spot rated to 130 m | 365 nm UV | You specifically need UV inspection and prefer the O-aluminium body. |
The clip and magnet decide where the light goes
The Oclip Pro is about 57 × 28 × 28 mm and weighs 53 g with the built-in battery. The spring clip fits suitably firm material up to 14 mm thick, according to Olight. A trouser pocket seam, cap brim or backpack strap gives the clip something to grip. A soft or folded edge can let the torch tilt. Try the clip on the actual layer you’ll wear and check that the light still points at the work when you move. Oclip Pro specifications · UK user manual
The magnet gives you a useful second mounting option on flat, clean steel. Aluminium, plastic trim and some stainless steel offer little or no hold. On a suitable surface, try a gentle tug before letting go and check that the torch stays clear of anything that moves or gets hot. The beam faces where its attachment points, so move the clip or reposition the magnet to change the angle. UK user manual
Flood, spot and red light serve different jobs
The side selector chooses the light source and the button controls power and brightness. Pick flood when you need to see your hands and everything immediately around them. Pick spot when you need to find one item further away. The red mode has low and high settings and a blinking option. If UV fluorescence is part of the job, look at the Oclip Ultra, which uses a UV emitter in place of the Pro’s red light. Oclip Pro UK user manual · Oclip Ultra specifications
| Setting | Olight’s rated output and runtime | A use that fits |
|---|---|---|
| Flood Turbo | 500 lm for 1 min, then 300 lm for 50 min and 100 lm for 30 min | A short burst of wide light to locate a dropped item |
| Flood Medium | 100 lm for 3 hr 30 min | Sorting tools or working with both hands for longer |
| Flood Low | 10 lm for 27 hr | Reading at close range or finding something in a tent |
| Spot Turbo | 380 lm for 1 min, then about 240 lm for 50 min and 85 lm for 30 min | Picking out a gate or a marker further away |
| Red Low | 4 lm for 29 hr | Muted light around camp |
The maximum rated beam distance of 120 m applies to the spotlight. That rating is a way to compare the beam under lab conditions. Take the light level, contrast and weather into account when judging what you can see outdoors. All runtimes are from Olight’s manual. UK user manual
Five places a clip-on torch can help
- Packing tackle after dusk. Clip it to a stiff cap brim and start on flood Low. Aim by tilting the brim so you can see the contents of the box without having to hold a torch. If the brim dips or the clip shifts, use a stable attachment or a head torch with an adjustable angle.
- A run or walk home. Try a firm front strap and point the white beam down. Check whether the beam bounces as you move. The clip light works as an extra light on an already lit route. On uneven, unlit paths a well-fitted head torch gives you more stable lighting in the direction you’re looking.
- Finding something beneath a workbench. Attach it to a cool, clean steel bracket and use Medium flood to see both hands. Move it to a second position if the first angle leaves the fastener in shadow. A slim clip-on light helps where you can’t fit your head and both hands into the same space.
- A few pages before bed. Use flood Moonlight or Low and clip the light to a stable edge beside the book, pointing it towards the page. Keep the lens clear of bedding. A dedicated reading light makes more sense if you want a flexible neck or a warmer beam every night.
- Getting the lead and bags ready for the evening dog walk. Clip it to your jacket or bag and use Low flood for the lead clasp and the ground near your feet. Red is an extra cue when you want a visible marker on a strap, alongside your usual visibility kit. Keep the light on your clothing or bag and the beam away from your dog’s eyes.

Should you buy the Oclip, Oclip Pro or Oclip Ultra?
The move from the original Oclip to the Pro buys you a separate spot and a rotary selector. The choice between Pro and Ultra is about the light you use most alongside white. Choose red for the Pro and UV for the Ultra. These are the original generations named above, so check the full model name when comparing listings. Oclip manual · Oclip Pro UK user manual · Oclip Ultra specifications
Original Oclip for simple white and red lighting
If you mostly work within arm’s reach and prefer a smaller torch, the original Oclip gives you white and red light at 30 g. Choose the Pro when you also need the narrower spot.
Original Oclip Ultra for UV checks
The original Oclip Ultra keeps the two white beam patterns and adds UV in place of red. It suits people who check for fluorescence as part of ordinary inspection work.
Charging, rain and cold
The built-in battery is rated at 580 mAh. Olight lists roughly 1.5 hours for a full charge with its specified USB-C input, which makes a top-up between jobs practical. High and Turbo are unavailable while charging. Close the port cover when you’re finished and keep the port dry when plugging in. UK user manual
The Pro’s IPX6 rating covers water jets under test conditions. Keep the port cover shut in rain and follow the manual’s advice against immersion. The manual also says white Turbo is unavailable from 0°C to 10°C and limits white output to Low or Medium below 0°C. For a cold early start, choose the beam and brightness you’ll still have available and charge indoors within the manual’s stated limits. UK user manual
Frequently asked questions
Can the clip mark a cap or delicate fabric?
It can leave an impression on soft fabric, and grit caught under the clip can damage a finish. Use a reinforced seam or a firm, replaceable strap. Open the clip fully before sliding it into place and keep the clip and magnetic contact surface free of metal filings. UK user manual
Is the Oclip Pro a good main light for night running?
For short jobs on a lit route, the clip can keep light within easy reach. For running on rough or unlit ground, a proper running head torch with a stable mounting and adjustable aim is the more dependable primary light. Check both direction and stability while moving before relying on any wearable light.
Verdict
Buy the Oclip Pro if you can name a strap or steel surface you’ll use regularly and want to switch between close work, a more focused beam and red light. The original Oclip makes sense if a smaller, lighter white-and-red light covers your needs. Choose the Oclip Ultra when UV is a job requirement. Check the UK listing for current colours and availability. Oclip Pro at Olight UK